This Prototyping module walks you step-by-step through the process of creating and testing prototypes. A workshop is just one of many ways you can approach the prototyping process.
Prototyping produces low-cost/no-cost representations of programs, services, and products in ways that make it easy for people (end users) to share feedback, ideas, and perspectives on what you’ve built.
We’ve simplified it into 3 key steps:
-
Preparing for Prototyping
-
Creating Low-Fidelity and High-Fidelity Prototypes
-
Sample Prototyping Activity
The instructions below also provide information on the materials you might need to run a prototyping session with clients and community members.
How did they do it?
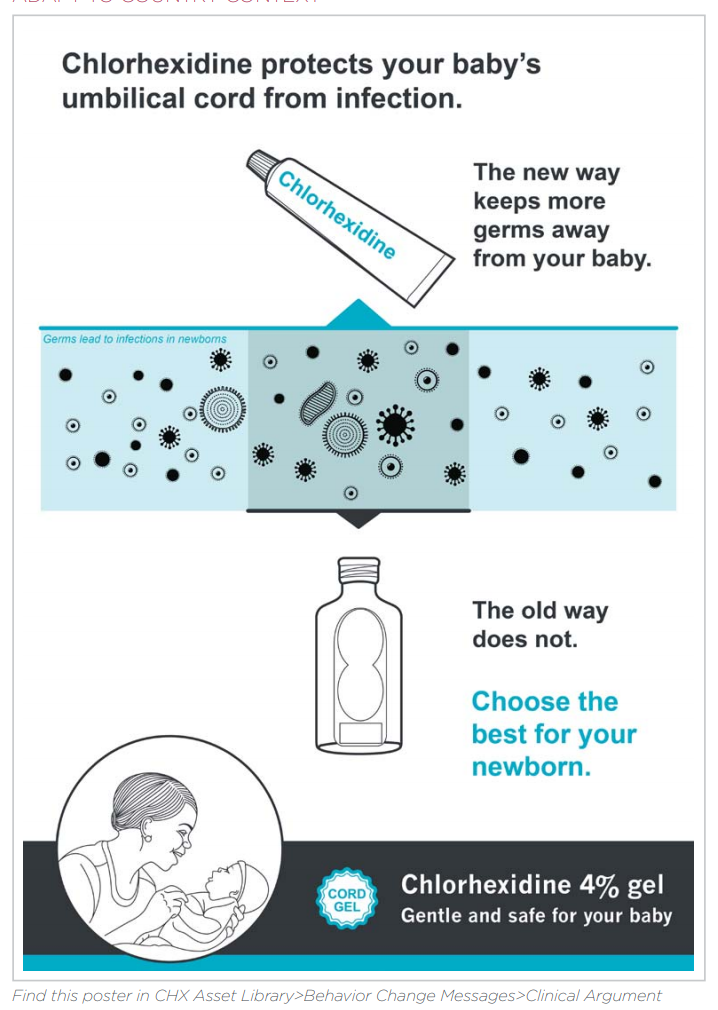
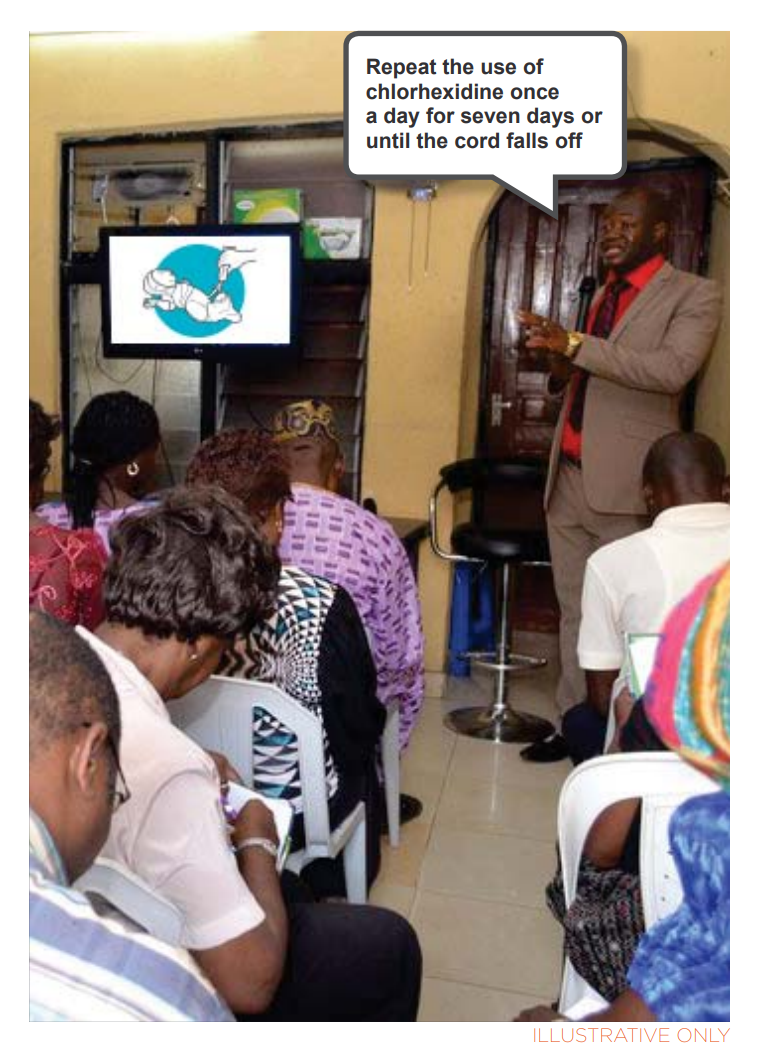
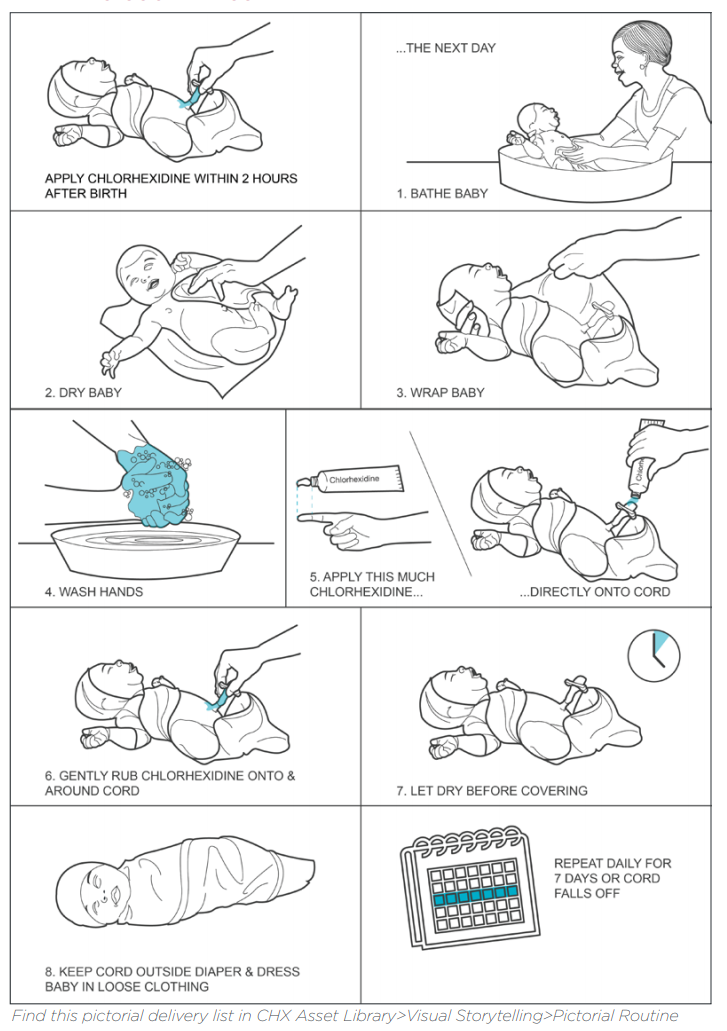
Review this human-centered design project from USAID focused on improving maternal health and improving birth outcomes. Notice how they create a variety of different low-fidelity prototypes before building out their toolkit for community health workers in Nigeria.
A sample prototyping activity:
Before the Activity
Send out invites to children, family and caregivers, as well as providers who may be interested in prototyping ideas. Ensure clarity of session purpose
-
Send out appropriate session materials in advance (e.g., output from Ideation sessions)
-
Choose a session leader and ensure that they feel confident to facilitate the session
-
Distribute any summaries that emerged from your Ideation sessions.
Activity Materials
-
Printed copies of any Ideation session materials and a few copies of the Insights Report
-
White and colored paper
-
Pens, markers, pencils, crayons
-
Craft materials (e.g. pipe cleaners, scissors, glue, string, fabric, stickers, Play-Doh)
-
Magazines and other images for collaging
-
Dot stickers for prioritizing
-
Participant sign-in list (if they wish to receive follow-up communication
-
During the Activity
-
In groups of 3-4 people:
-
Decide on one idea to prototype (dot vote, if needed)
-
Prototype! Take time to build out the idea. Work individually, in pairs, or as a larger group
-
Get feedback from other groups in the room using the Feedback Grid; Incorporate feedback and revise your prototype(s)
-
Build a plan for getting more feedback from clients and community members; follow the plan and collect more feedback using the grid
-
Incorporate feedback and revise your prototype(s) again
-
End with a group reflection:
-
End with a group reflection (and take notes):
-
What did we do today?
-
What was a high point/low point?
-
Did you have any learnings or “aha” moments?
-
What is a takeaway from today that you want to carry forward?
-
-
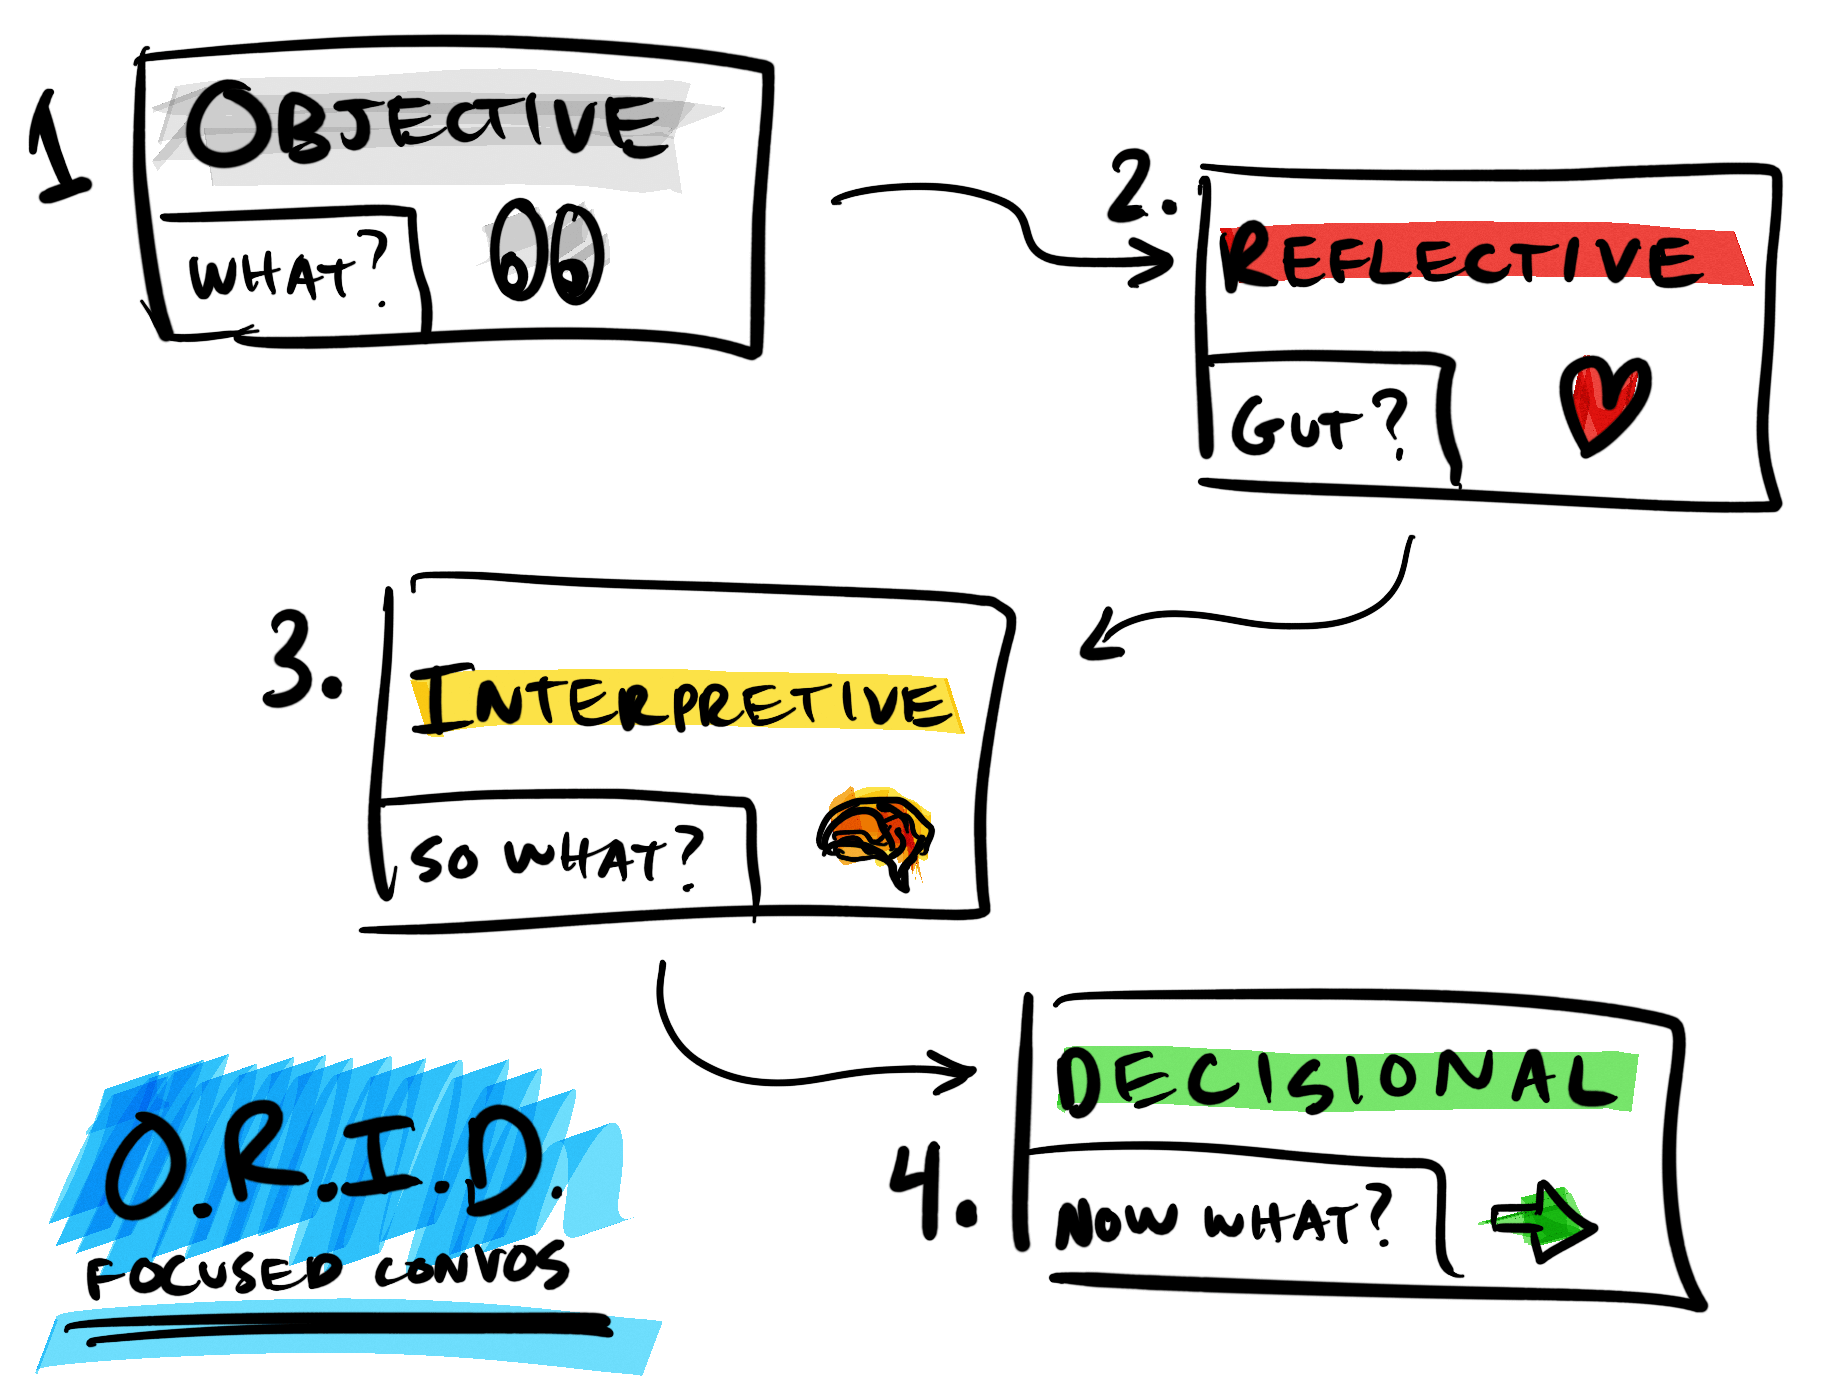
The ORID Framework is a useful approach to facilitating a group reflection:
-
Objective – What did we do today?
-
Reflective – What is your gut reaction to the events? High points or low points?
-
Interpretive – So What? Why is this important for what we do?
-
Decisions – Now what happens? What specific steps will we take after this session?
-
After the Workshop
-
Take a photo of the prototypes and document all plans for getting more feedback
-
Send a follow-up email thanking participants for their participation. Make sure to include notes from the reflection, and clearly-defined next steps (from the Decisions portion of the reflection)

